Vultr is one of the best cloud server hosting services. It is very easy to use with it’s straight-forward interface, fairly economic and offers high performance. In this article we will discuss how to deploy a Vultr server.
1- Log in to your Vultr account
If you don’t have Vultr account, register using this link(limited period) and you will get 100$ for free for the first month, or register using this link and get 10$.
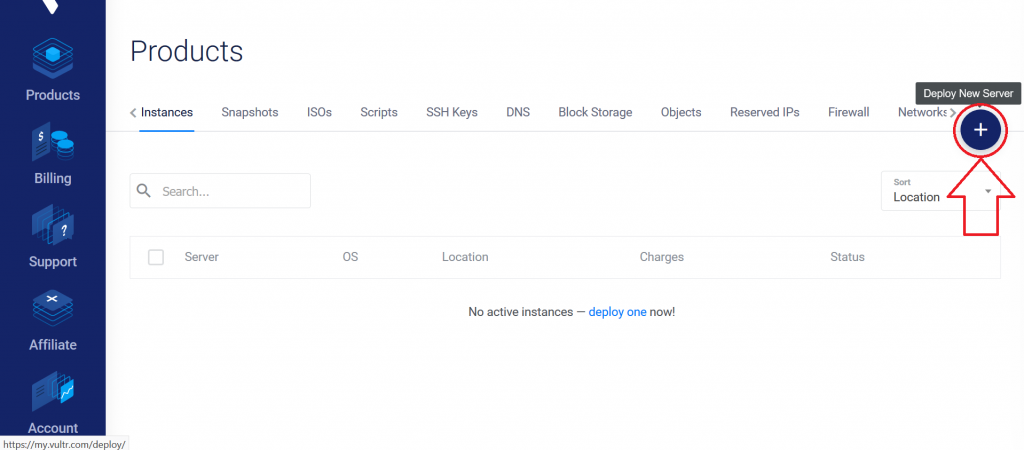
After logging in, click on the plus sign button on the right of the screen to deploy new server.
2- Choose server type
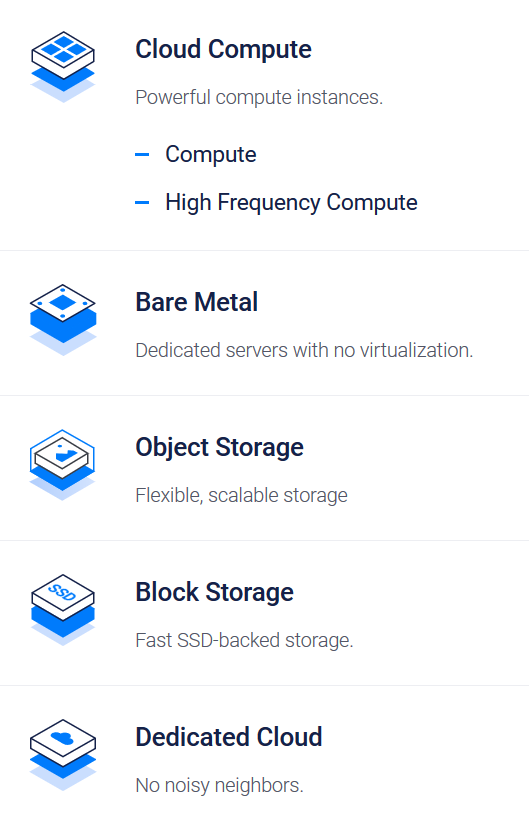
There are multiple choices of server types, As you can see in the image at the right.
Vultr servers ranging form shared cloud VPS to dedicated servers with no virtualization, also there is storage options.
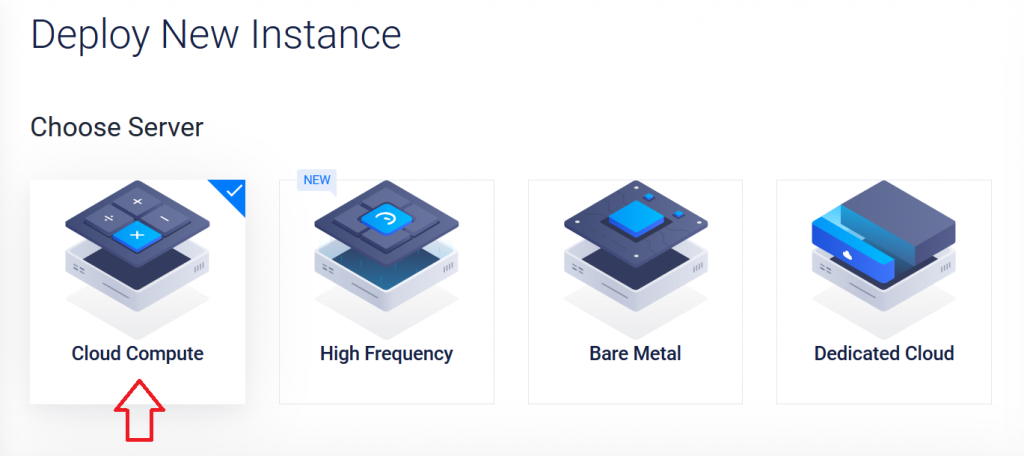
For this article, we are going to choose Cloud Compute which has the cheapest options, if the price is your concern this choice is best for you.
3- Select server location
At this stage, it is highly recommended to choose server location that is nearest to the server’s clients to ensure the best performance, we are going to choose United States/New York(NJ) as it has more server sizes and options available right now, unlike other locations where you have less options available.

4- Pick server operating system
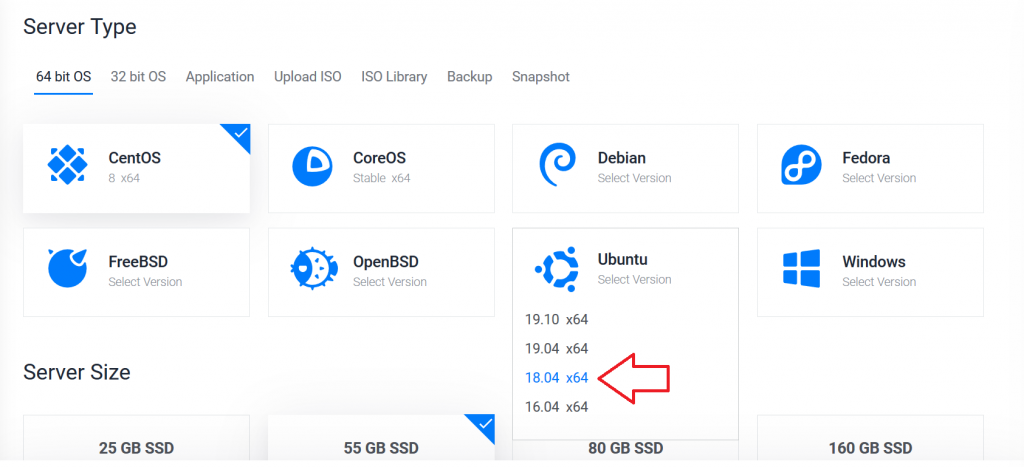
You can choose the OS of the server form a variety of operating systems (such as CentOS, Debian, Ubuntu, Windows, etc.) and applications (such as cPanel, WordPress, Minecraft, Docker and many others). Also you can upload your ISO or choose an image form the ISO library available. For now we will choose Ubuntu 18.04 x64
5- Choose server size
Now you are going to choose server size according to which one fit your application the best.
Keep in mind that some server sizes are not available in some locations as we mentioned above.
(3.5$/mo, 10GB SSD, 1 CPU, 512MB memory, 500GB bandwidth) is only available right now at New York(New Jersey), also (2.5$/mo, 10GB SSD, 1 CPU, 512MB memory, 500GB bandwidth ) is available as the cheapest option but it only support IPv6 and it does not include a public IPv4 address.
Let’s choose 3.5$/mo package for this demonstration.

You can enable more features, such as IPv6, Auto-backups, DDOS protection and more. Some features are exclusive to certain server locations.
Then, you may enter Startup Scripts and SSH keys or choose another one that is already created previously.
Finally, enter Hostname and Label for the server and click Deploy Now button.
6- Billing
If don’t have payment method linked to your account, by clicking Deploy Now you will be redirected to the billing interface. There are multiple payment methods supported including PayPal, credit cards, bitcoin and Alipay.
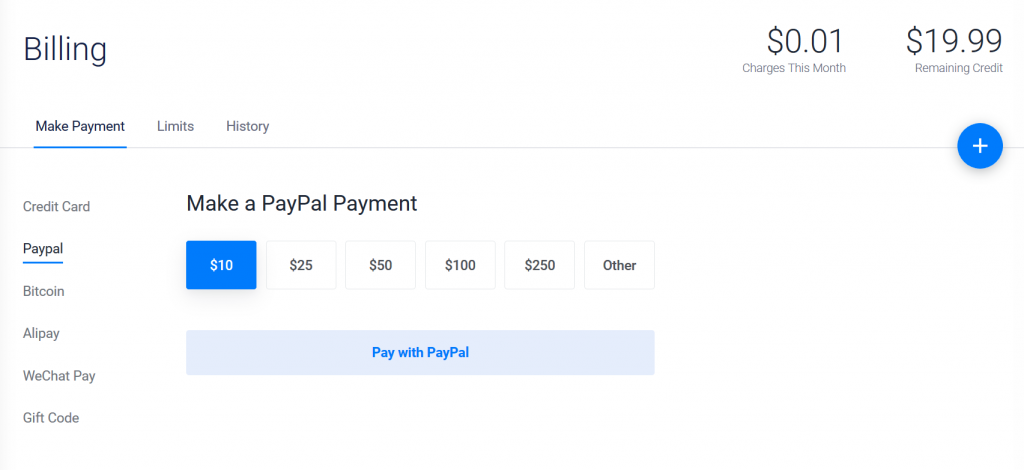
After you make the payment, you will receive an E-mail about the newly deployed server with all it’s information from Vultr. Then you wait for your server to finish installation.
Now you have your server running, to manage it click on Server Details from the menu on the right.
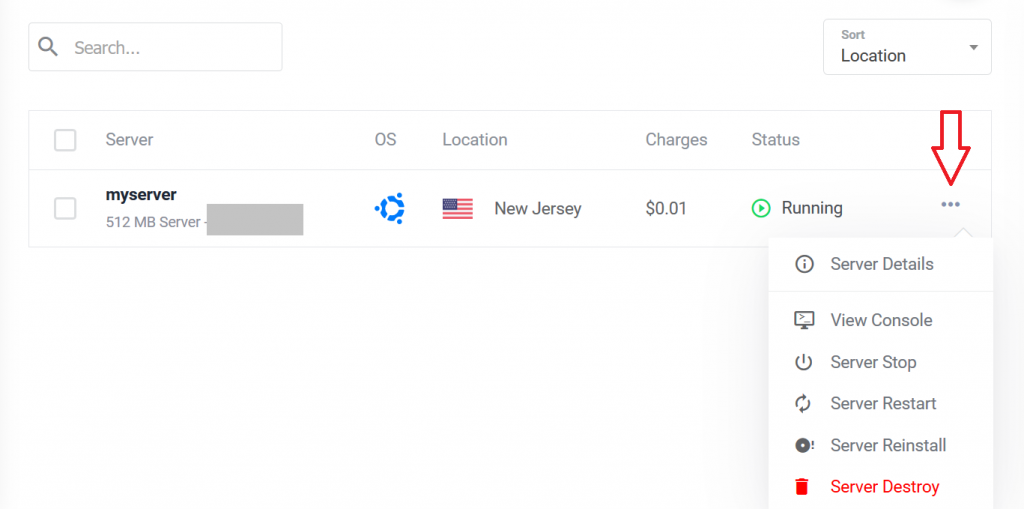
At the end, we hope that you learned how to deploy Vultr server form this article.
Share
Other articles you may find interesting
Advertisment



Great😍
Awesome Blog, I am glad to browsing this kind of blog and I found your blog. This is really amazing. Keep sharing!!!!!!
Like!! Thank you for publishing this awesome article.
This is a topic that’s close to my heart… Cheers! Exactly where are your contact details though?
I got this web site from my buddy who informed
me about this website and at the moment this time I am visiting this web page and reading very informative posts here.
awesome post, i like it